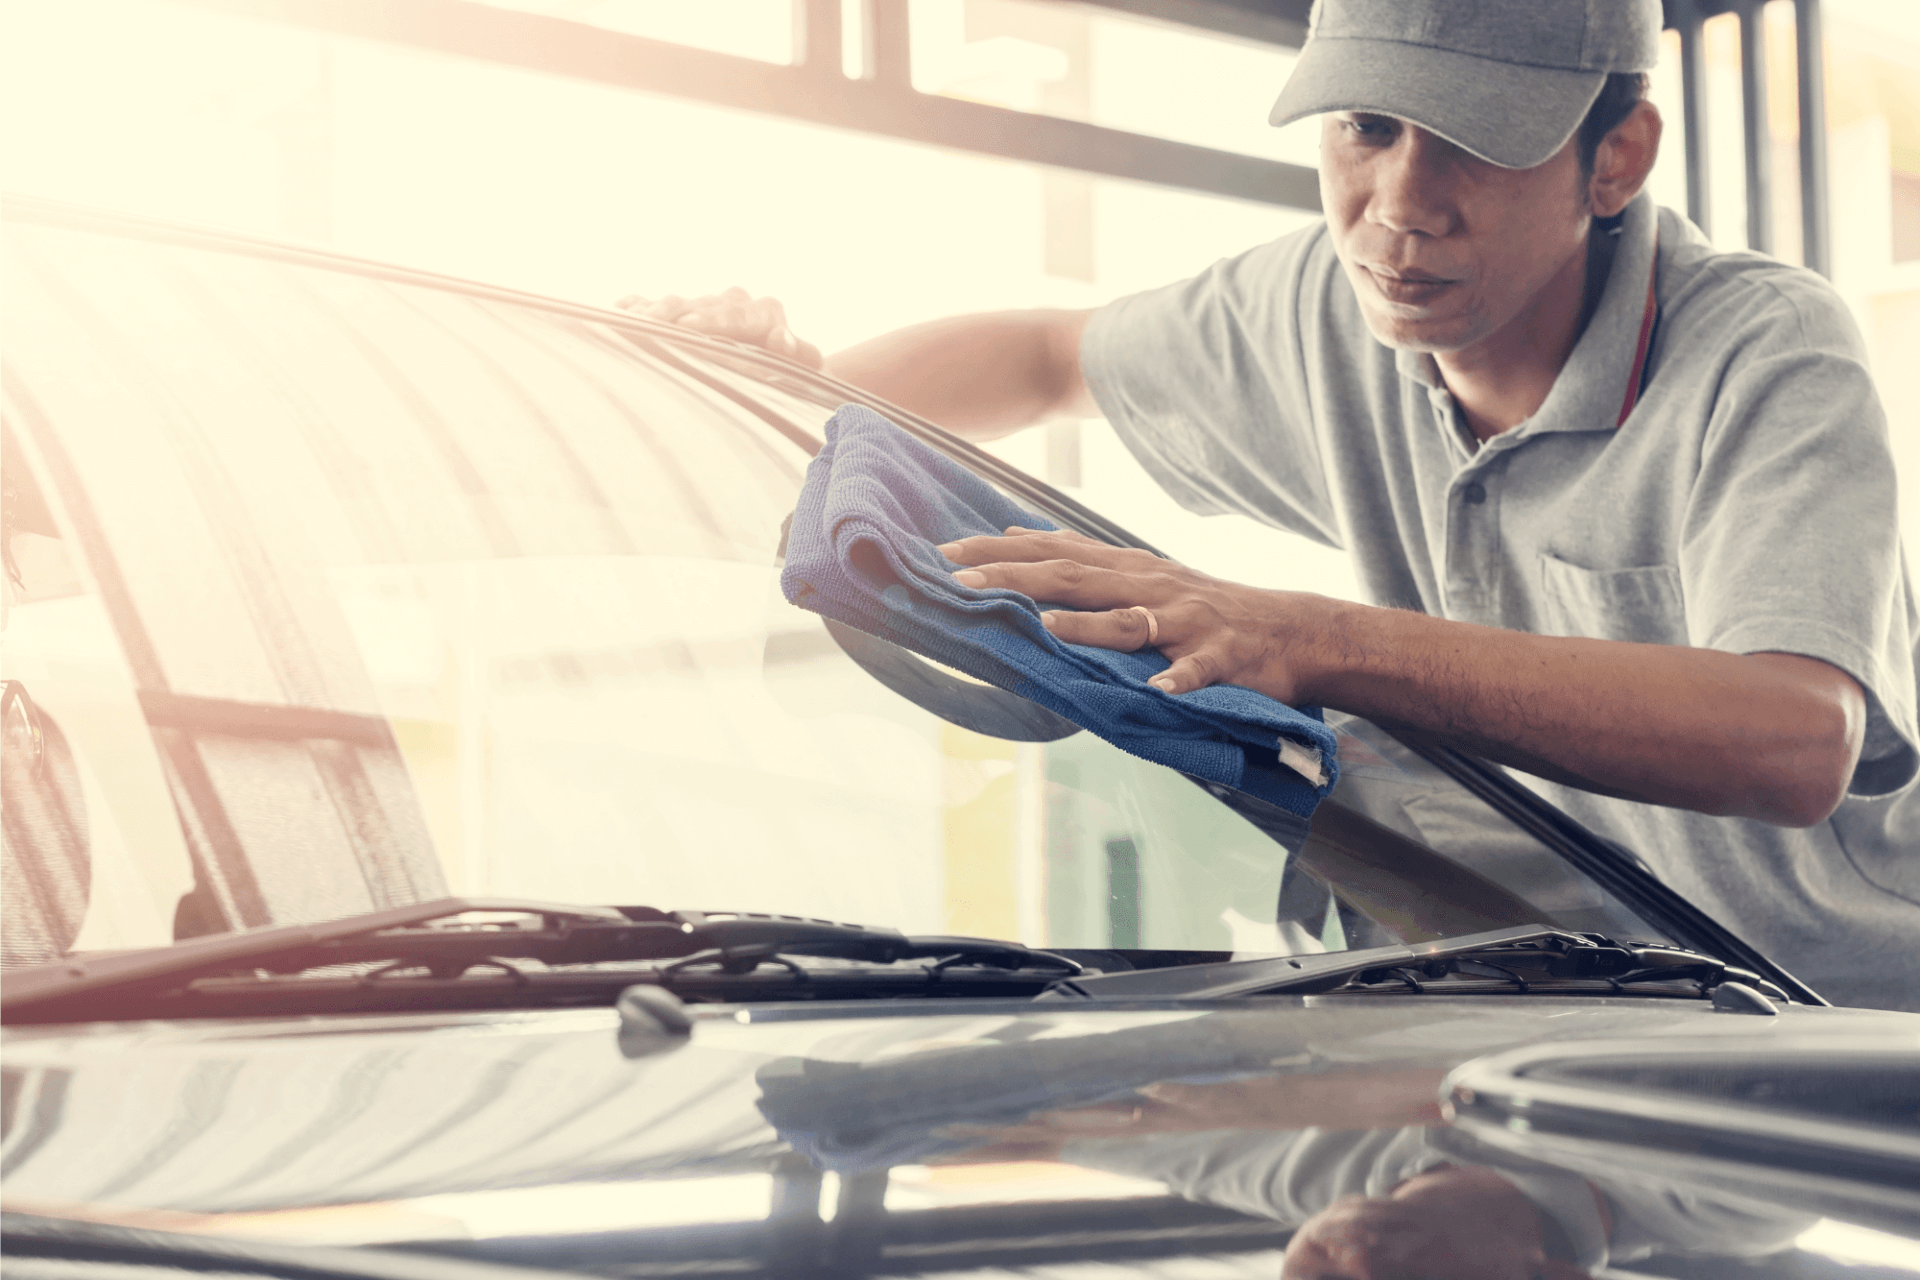
How to Use Car Glass Crack Repair Liquid for Fast Windshield Fixes in Melbourne
A small windscreen crack can turn into a full replacement job faster than most drivers expect. Melbourne’s changing temperatures, rough road vibration, and daily commuting conditions can all cause minor glass damage to spread across the windscreen. That is why many car owners look for a quick fix before the problem gets worse.
In this guide, we explain
how to use car glass crack repair liquid for fast windscreen fixes in Melbourne, when it works best, and when it’s safer to seek professional windscreen repair. Understanding the right approach can help protect your windscreen, maintain road safety, and avoid bigger repair costs later.
What is car glass crack repair liquid?
Car glass crack repair liquid is usually a resin-based solution made to flow into small chips or surface cracks in laminated auto glass. Once it settles into the damaged area, it is cured to harden and bond the glass, helping reduce the appearance of the crack and restore some structural strength. It is a common DIY option for small windscreen damage that has not yet spread too far.
This product works best on minor stone chips, bullseyes, and short cracks that are still clean and dry. It is not a magic fix for every type of glass damage, and it will not make a crack disappear completely. What it can do is stop further spreading in many cases and improve the safety and clarity of the damaged area.
For Melbourne drivers, this can be especially useful because temperature swings and long drives can turn a small problem into a larger one quickly. A crack that seems minor in the morning can become much more serious after a hot afternoon, a cold night, or repeated vibration on uneven roads.

When should you use crack repair liquid on a windscreen?
You should use crack repair liquid when the damage is still small, recent, and limited to the outer layer of the windscreen. In most cases, DIY repair is best suited to chips and short cracks that are not directly in the driver’s main line of sight. The sooner you treat the damage, the better the result usually is.
If water, dust, or debris has already entered the crack, the finish may be weaker and more visible. That is why timing matters. Leaving the crack exposed for several days can reduce the effectiveness of the repair liquid and make professional repair more difficult as well.
It is also important to look at the position of the damage. If the crack is close to the edge of the windscreen, has started branching, or looks deep, the glass may already be structurally compromised. In that situation, a proper inspection is safer than trying to solve it with a DIY kit.
When is the crack repair liquid not enough?
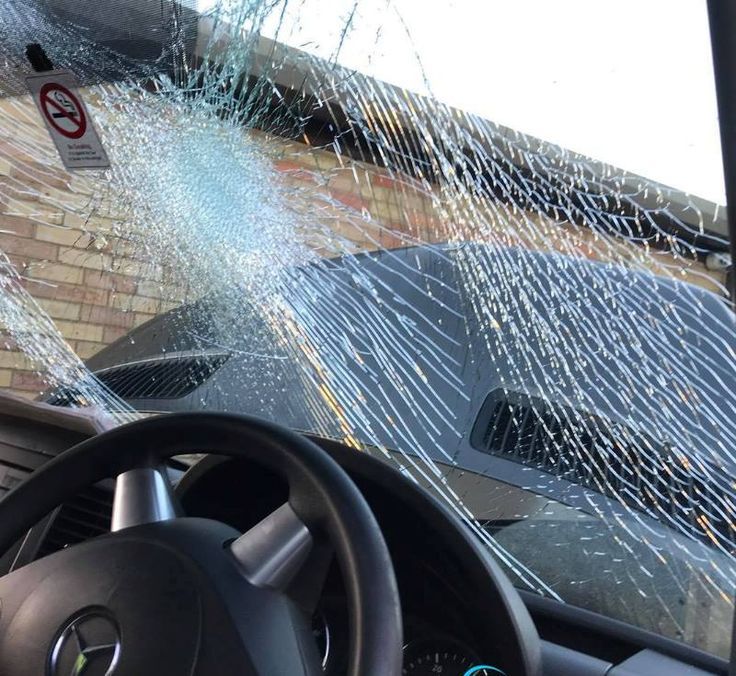
Not every crack should be handled at home. If the damage is long, spreading, or affecting visibility, you should not rely on repair liquid alone. A windscreen is a safety component, and poor repairs can leave you with weakened glass when you need it most.
Large cracks often need professional resin injection equipment or full windscreen replacement. The same applies where there are multiple chips, star-shaped damage, or cracks that have reached the edge of the glass. These are signs that the windscreen is under stress and may continue failing even after a surface treatment.
Melbourne drivers who use freeways, tradie vehicles, or trucks should be especially careful. Higher mileage, road debris, and vehicle vibration place more pressure on damaged glass. In those cases, a professional repair or replacement is often the smarter and safer option.
How to use car glass crack repair liquid: a 5-step guide
Using the car glass crack repair liquid properly makes a big difference to the result. Rushing the job, applying too much resin, or working on wet glass can all reduce the effectiveness of the repair. Follow these five steps carefully for the best chance of success.
Step 1: Check the crack and confirm it is suitable for DIY repair
Start by inspecting the damage in good light. Look at the size, depth, and position of the crack, and make sure it is small enough for a repair kit. If the glass is shattered, the crack is long, or the damage sits directly in your viewing area, skip the DIY option and speak to a professional.
You should also confirm that the windscreen is dry and reasonably clean. If rainwater or dirt has settled inside the crack, the resin may not bond properly. A quick assessment at the start can save time and prevent you from making the damage worse.
This step matters because many failed DIY repairs happen before the liquid is even opened. Drivers often try to repair damage that is already beyond the point where liquid resin can help. Being realistic here leads to a better decision and a safer result.
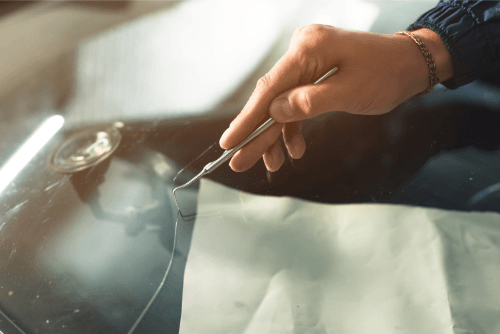
Step 2: Clean and prepare the damaged area
Use a clean, dry cloth and gently remove surface dirt around the crack. Do not scrub aggressively or force anything into the damaged area. The goal is to keep the surface clear without pushing contaminants deeper into the glass.
If your kit includes a cleaning pin or prep tool, use it carefully according to the instructions. Avoid household cleaners unless the product specifically says they are safe, because some leave residue that interferes with the resin. Preparation should be simple, dry, and controlled.
This is one of the most overlooked parts of the process. A windscreen repair liquid performs best when the crack is dry, clear, and stable. Any trapped moisture or grease can weaken the bond and leave a cloudy finish once the resin cures.
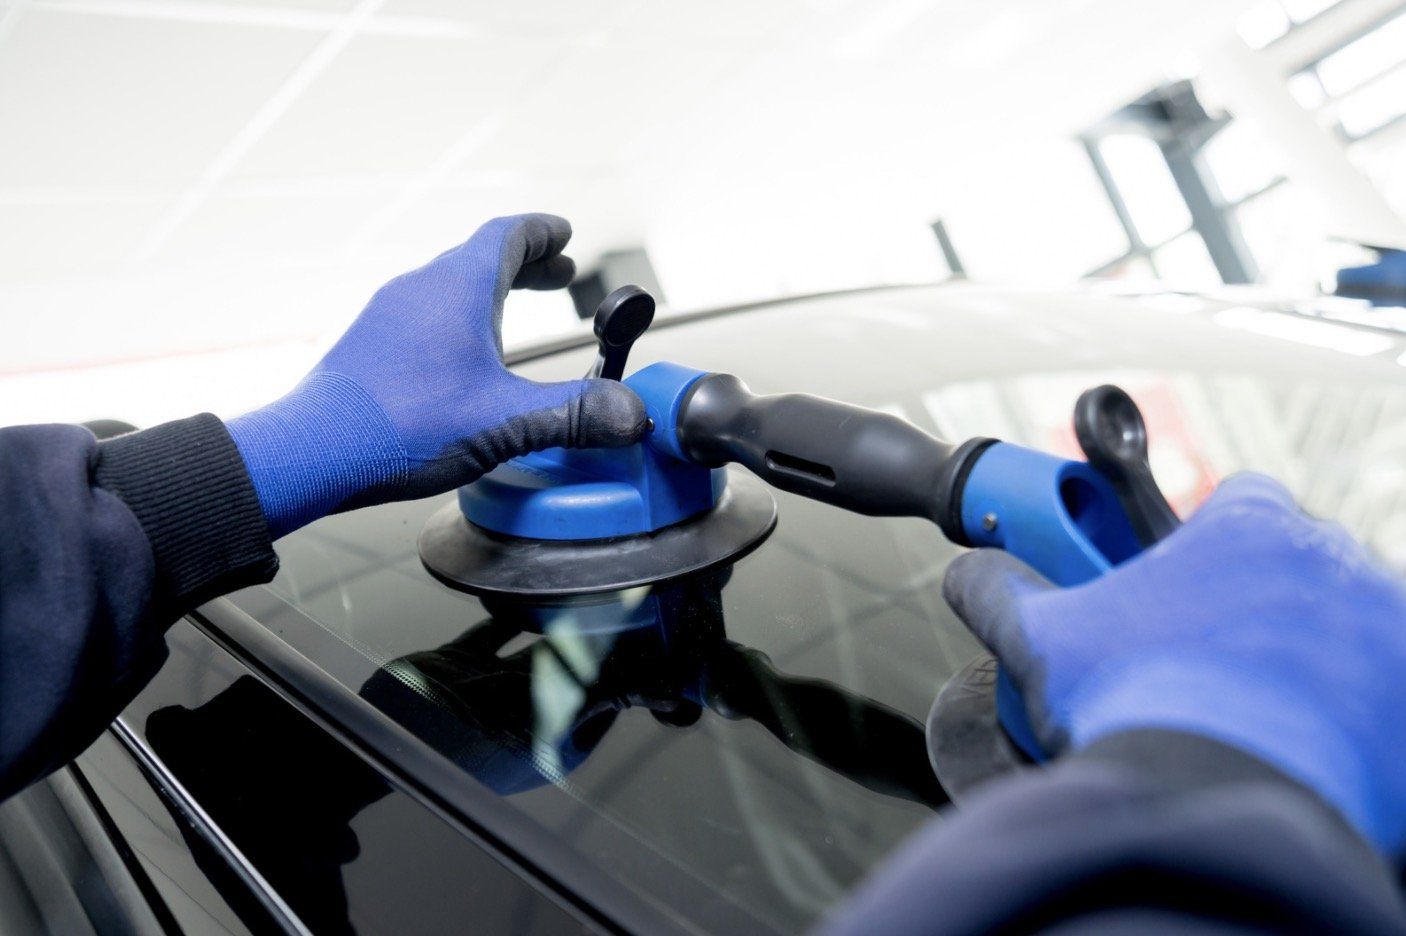
Step 3: Apply the repair liquid slowly and accurately
Position the applicator directly over the chip or start of the crack and apply the resin as directed by the kit. Most products are designed to let the liquid flow into the damaged area rather than sit on top of the glass. Let gravity and pressure do the work instead of squeezing too fast.
Watch closely as the liquid settles into the crack. You may see air pockets disappear or the damage darken slightly as the resin enters the glass. This is a normal sign that the liquid is reaching inside the break.
Do not overfill the area or spread resin across the whole windscreen. A controlled application gives a neater finish and reduces cleanup. Precision matters more than speed during this stage.
Step 4: Let the resin cure fully
Once the crack has been filled, the resin needs time to harden. Some kits use a curing strip and sunlight, while others rely on a curing device or a set waiting period. Follow the product directions exactly, because under-curing can leave the repair soft and ineffective.
Keep the vehicle still while the resin sets. Avoid driving, washing the car, or exposing the windscreen to sudden temperature changes during this stage. Even a decent application can fail if the glass is disturbed before the resin finishes bonding.
Many Melbourne drivers make the mistake of applying repair liquid and heading straight back onto the road. That shortens the life of the repair. Giving the resin proper curing time is one of the easiest ways to get a stronger result.
Step 5: Scrape, inspect, and monitor the repair
After curing, remove any excess resin using the finishing blade or scraper included in the kit. Work gently and keep the blade flat to the glass so you do not scratch the windscreen surface. The aim is to leave the repaired area smooth and clear.
Once cleaned up, inspect the crack again. The damage may still be visible, but it should look reduced and more stable. What you are looking for is improved clarity and no obvious signs that the crack is continuing to spread.
Over the next few days, keep an eye on the repaired area. If the crack grows, becomes more noticeable, or starts affecting visibility, book a professional windscreen inspection immediately. DIY liquid is a first response, not a guaranteed permanent fix in every case.
Common mistakes to avoid
One of the biggest mistakes is using repair liquid on damage that is already too severe. A long or edge-based crack needs more than a basic DIY kit, and delaying professional help can increase both cost and risk. Knowing the limits of the product is part of using it correctly.
Another common issue is trying to repair wet glass. Even a small amount of moisture inside the crack can stop the resin from bonding the way it should. That is why it is better to wait for dry conditions than to rush the job after rain or a car wash.
Drivers also often expect a cosmetic miracle.
Crack repair liquid can improve the look of the damage, but it rarely makes it invisible. The real goal is to stabilise the crack, improve safety, and avoid further spreading.
Need expert windscreen repair in Melbourne? Talk to Windscreen Medics
If your crack is too large for DIY repair, has started spreading, or sits in a risky area, it is time to get professionals involved. Windscreen Medics helps Melbourne drivers with fast, reliable windscreen repair, full windscreen replacement, and truck windscreen services. Whether you drive a family car, work ute, van, or heavy vehicle, getting the glass checked early can save time and prevent bigger problems.
Our team understands how quickly windscreen damage can worsen in real Melbourne driving conditions. We focus on practical solutions, honest advice, and quality workmanship so you can get back on the road safely. When repair is possible, we will guide you toward the right option, and when replacement is the safer choice, we will handle it properly.
Do not wait for a small crack to become a full-screen failure.
Contact Windscreen Medics today for professional windscreen repair, windscreen replacement, and truck windscreen support in Melbourne, and get your vehicle back to safe driving condition with confidence
Categories
Auto Glass Experts