How to Use a Windscreen Crack Repair Kit: 2026 Guide for Melbourne Drivers
For many Melbourne drivers, a cracked windscreen can appear out of nowhere, whether from a stone flicking up on the Monash Freeway, temperature changes during Victoria’s unpredictable weather, or debris on rural highways. While not every crack can be fixed at home, many minor chips and small cracks can be stabilised using a windscreen crack repair kit.
This 2026 guide provides a complete, step-by-step process on how to use a windscreen crack repair kit, combining the instructions from your uploaded repair guide with industry best practices. Keep reading to gain professional insights.
Why Use a Windscreen Crack Repair Kit?
A high-quality windscreen crack repair kit can:
- Fill the damaged area with professional-grade resin
- Restore optical clarity
- Prevent cracking from spreading
- Reinforce the structural strength of the affected glass
- Provide temporary protection until a technician inspects it
However, DIY kits work only for certain types of damage. Understanding what you can and cannot fix is essential for safety.

What Types of Damage Are Suitable for DIY Repair?
DIY windscreen kits work best on:
- Stone chips
- Bull’s-eye damage
- Star-shaped cracks
- Small combination breaks
- Short cracks (usually under 15–20 cm)
Melbourne drivers dealing with heavy commercial vehicles (trucks, buses, fleet vans) should also note that larger windscreens and curved glass behave differently under pressure, making DIY kits less effective.
What Comes in a Standard Windscreen Repair Kit?
A standard windscreen repair kit includes the following components:
- Suction-cup applicator base
- Resin chamber
- Pressure driver (to push resin into the crack)
- Rubber seal/mouth ring
- Repair the resin bottle
- Curing film strips
- Trimming blade or razor blade
How to Use a Windscreen Crack Repair Kit in 2026
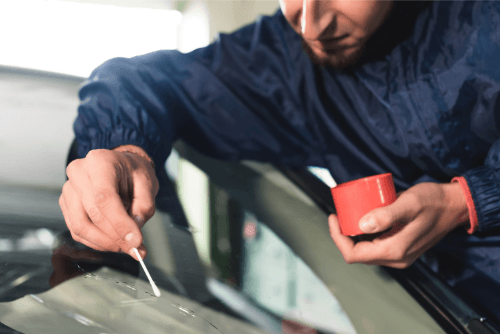
Step 1: Clean the Impact Area
Use a dry cloth to gently wipe the damaged area. If loose glass fragments are present, use the kit’s blade to carefully lift them away. Do not press on the crack. Do not introduce water or cleaning chemicals.
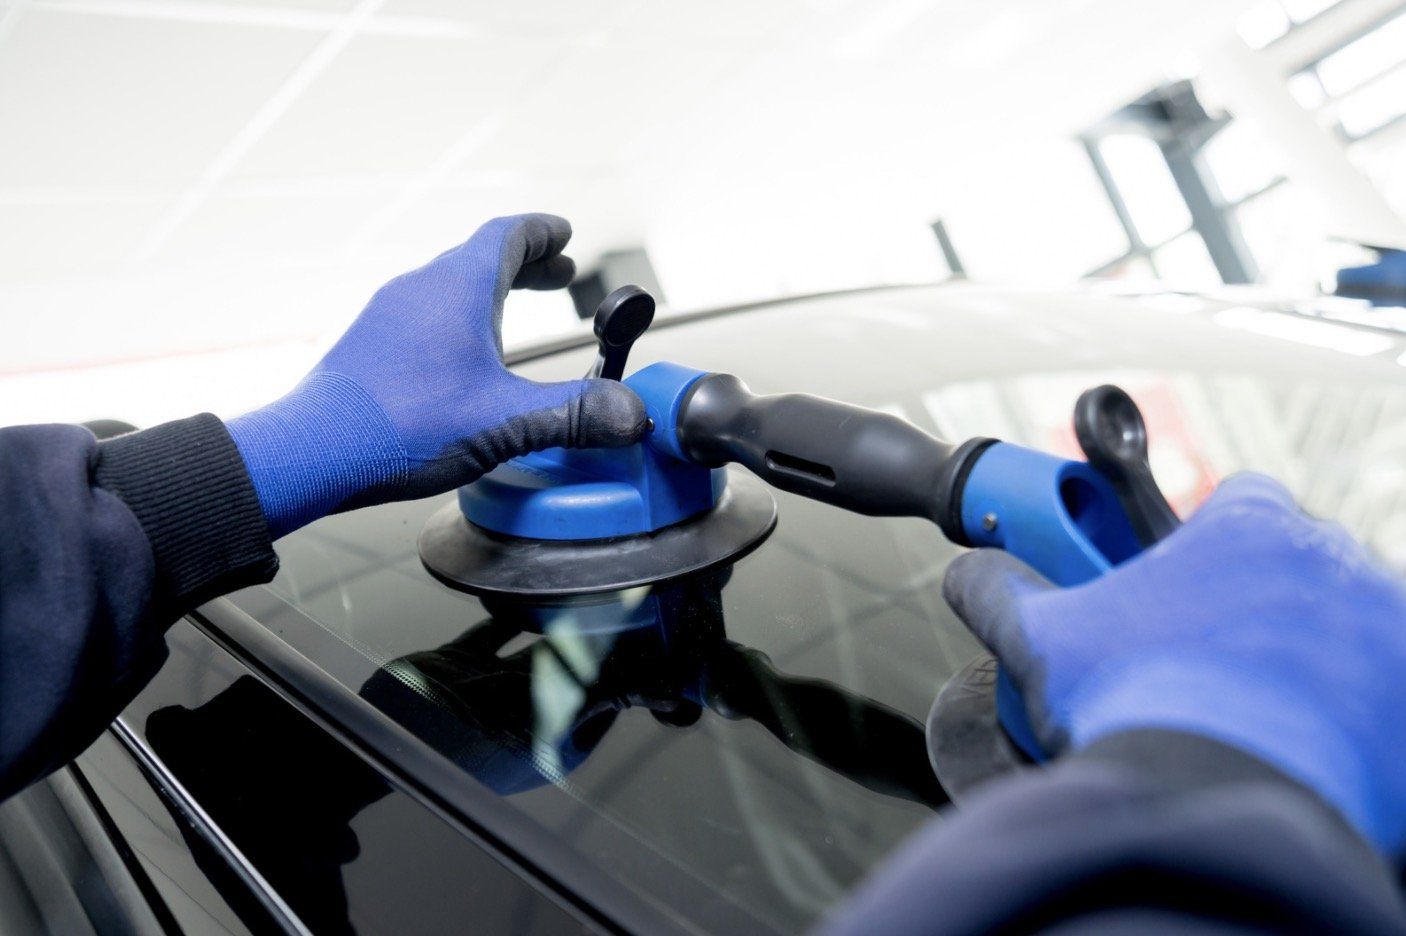
Step 2: Position the Suction Cup Applicator
Attach the applicator base (suction cup assembly) to the windscreen:
- Centre the opening directly over the chip or crack.
- Adjust the arms if applicable so the suction cups hold firmly.
- Push down to ensure a tight seal.
Step 3: Install the Rubber Seal and Resin Chamber
Screw the rubber mouth ring or seal onto the resin chamber. This creates an airtight connection when placed over the crack.
Then:
- Screw the resin chamber into the base opening.
- Make sure the chamber is aligned directly above the damage point.
The chamber holds the resin and creates a controlled injection zone.
Step 4: Apply the Repair Resin
Add the required drops of resin into the top of the resin chamber.
While the PDF doesn't show exact quantities, the industry standard is:
- 6–10 drops for a chip
- More for minor cracks (follow your kit’s measurement line)
Avoid overfilling. Excess resin causes bubbling or overflow.
Step 5: Insert and Tighten the Pressure Driver
Screw the pressure driver firmly into the chamber. This forces resin down into the crack or chip.
Key actions:
- Turn the driver clockwise to create pressure.
- Watch the damaged area; you should see the resin begin to fill.
- Allow the resin to sit under pressure for 5–10 minutes.
For deeper cracks:
- Loosen the driver slightly to release trapped air
- Tighten again to reapply pressure
Repeat 2–3 times to ensure full penetration.
Step 6: Remove the Pressure Driver and Resin Chamber
Once filled:
- Unscrew and remove the pressure driver
- Unscrew the resin chamber
- Detach the suction base assembly carefully
You will now see a small pool of uncured resin on the surface of the crack or chip. This is normal.
Step 7: Apply the Curing Strip
Place a curing film strip directly over the resin-filled area. It prevents oxygen exposure and ensures the resin cures cleanly. Use your trimming blade to gently smooth the strip so no air pockets remain beneath.
Step 8: Cure Under UV Light or Sunlight
DIY kits rely on UV exposure. In Melbourne, outdoor UV levels vary by season, so allow:
- 10–20 minutes in direct sunlight, or
- Longer on cloudy days
Alternatively, if you have a UV lamp, it can speed up the process. The resin will harden into a clear, durable finish that bonds with the glass.
Step 9: Remove Curing Strip and Scrape Excess Resin
Once hardened:
- Peel away the curing film
- Use the razor blade at a 90-degree angle to scrape away excess cured resin
- Polish lightly with a microfiber cloth
The repair should appear significantly lighter, smoother, and more stable.
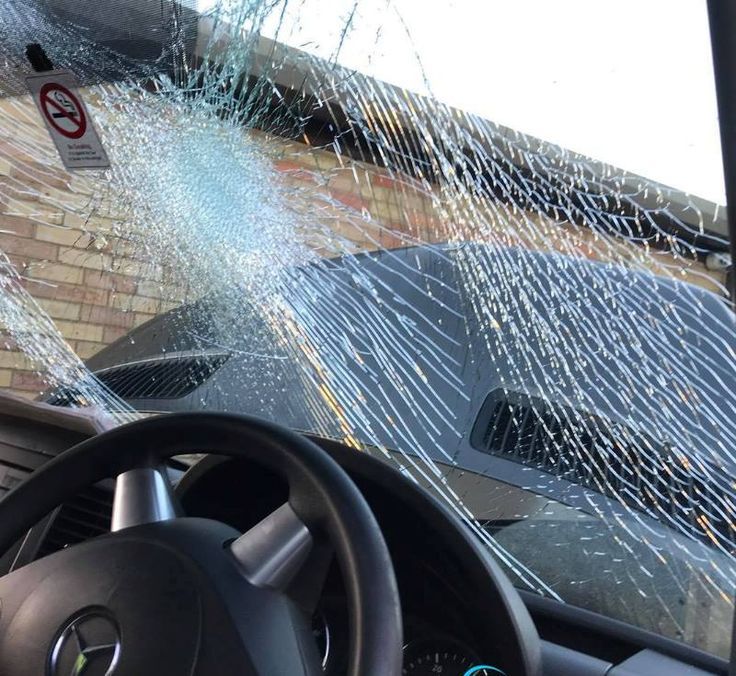
When You Should Stop DIY and Call a Professional
DIY repair is only meant for small, manageable damage. Stop immediately if:
- The crack continues spreading
- Resin is leaking from the chamber
- The impact point has missing glass
- The crack is longer than 20 cm
- Damage is in front of the driver’s vision line
- You are repairing a truck, bus, or commercial fleet vehicle that requires compliance with Victorian road safety standards
Professional windscreen technicians use vacuum-injection systems, precision resins, and structural bonding techniques that DIY kits cannot match.
Windscreen Medics: Windscreen Repair and Replacement in Melbourne
While a DIY kit is useful for minor damage, nothing replaces a technician’s ability to assess the structural integrity of your windscreen. Melbourne’s road conditions, from potholes to peak-hour vibration, mean even repaired chips can worsen over time.
That’s where Windscreen Medics comes in.
Whether you drive a personal car, 4WD, light commercial van, heavy truck, bus, or fleet vehicle, our team provides fast, professional windscreen repair and replacement across Melbourne. We use industry-grade resin systems, advanced diagnostic methods, and high-quality replacement glass suitable for all vehicle models.
Conclusion: Fix Chips Early and Drive Safer
Using a windscreen crack repair kit is a smart, cost-effective first step for Melbourne drivers dealing with small chips or short cracks. By following the step-by-step guide above, based on both professional kit instructions and industry best practices, you can prevent damage from spreading and maintain better clarity on the road.
But remember: DIY kits are temporary fixes.n For long cracks, structural damage, or anything affecting your visibility, a certified technician is the safest choice.
Need Expert Windscreen Repair or Replacement in Melbourne?
Windscreen Medics offers professional windscreen repair and full windscreen replacement for cars, utes, trucks, buses, and all vehicle models. If your damage is too severe for a DIY repair kit or if you want guaranteed long-term protection, our team is ready to help.
Book your service today with Windscreen Medics and keep your vehicle safe, compliant, and road-ready.
Categories
Auto Glass Experts